


Last Updated: October 22, 2026
Quick Summary
Suction cup marks sink as circular rings or cloudy spots that require different treatment depending on whether they're sticky residue, water marks, or permanent surface damage. Start by wiping with a damp cloth; if the mark persists, use gentle methods like a mild dish soap solution or equal parts white vinegar and water, avoiding abrasive tools that scratch the finish.
- Wipe marks with a damp cloth first; if they disappear, you're done.
- Press white paper against the mark for 10 seconds to determine if it's residue or water damage.
- Use soft cloths and avoid steel wool, scouring pads, and abrasive powders on porcelain sinks.
- Mix equal parts white vinegar and water and let sit for five to ten minutes to dissolve mineral deposits.
- Remove suction cups daily and rotate placement to prevent marks from forming.
Table of Contents
- Identifying Suction Cup Marks vs. Other Sink Damage
- Remove Sticky Residue From Porcelain Sink Surfaces
- Remove Hard Water Marks From Sink With Safe Methods
- Sink-Safe Cleaning Tools and What to Avoid
- How to Prevent Suction Cup Marks on a Sink
- Your Sink Cleaning Routine: Prevention and Maintenance
- Frequently Asked Questions
Identifying Suction Cup Marks vs. Other Sink Damage
Suction cup marks sink appearance differs from other stains, showing as circular rings or cloudy spots. They appear as circular rings or cloudy spots where a suction cup has sat. The key is figuring out what you're actually looking at before you start cleaning.
Not every mark that looks like a suction cup problem actually is one. Some marks won't budge with water alone. Others are sticky residue left behind. Knowing the difference changes how you fix it.
When a Mark Won't Wipe Away
Start with the simplest test: wipe the mark with a damp cloth. If it disappears, you're done. If it stays, you have a real problem to solve.
Marks that won't wipe away fall into two categories. First, there's physical damage to the sink surface itself. Second, there's stubborn residue bonded to the finish. The treatment depends on which one you have.
Run your finger over the mark. If you feel a groove or dent, the suction cup has damaged the surface. If the mark feels smooth but looks discolored, it's residue or a water mark.
Distinguishing Residue From Permanent Damage
Residue sits on top of your sink. Damage is embedded in the finish itself. This distinction matters because residue responds to cleaning. Damage requires different tactics.
Silicone residue is the most common culprit. When suction cups stick to your sink, they leave behind silicone compounds. These look like cloudy spots or sticky patches.
Water marks are different. Hard water contains minerals that build up where water sits or evaporates (Hardness of Water). These marks appear white or chalky. They're flat against the surface, not raised or sticky.
Permanent damage shows as discoloration that's actually part of the finish. The mark won't come off because the sink material itself has been altered.
Remove Sticky Residue From Porcelain Sink Surfaces
Porcelain sinks need careful handling. They're durable but can scratch or stain if you use the wrong approach. Sticky residue from suction cups comes off easiest when you use gentle methods first.
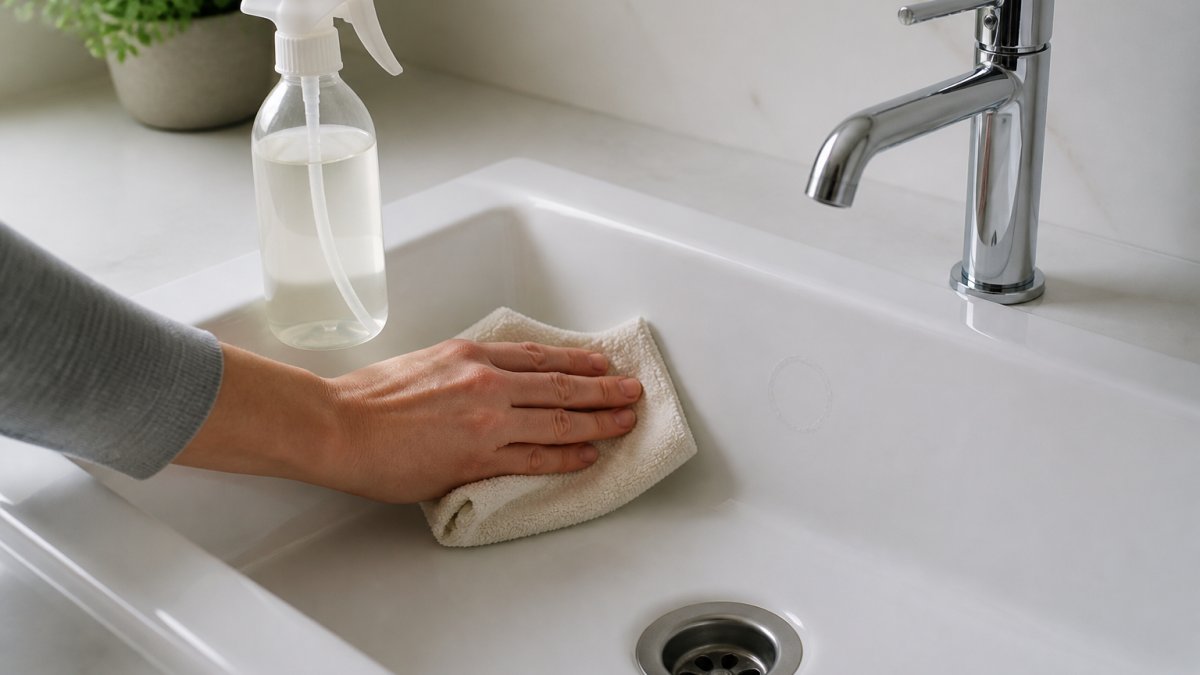
Why Porcelain Requires Caution
Porcelain is glazed ceramic. The glaze is what makes it shiny and protects the underlying material. Abrasive scrubbing damages this glaze. Once damaged, the porcelain becomes porous and stains more easily.
Suction cup marks sink into porcelain as residue rather than permanent damage in most cases. The sticky feeling tells you it's something sitting on the surface. This is good news because residue responds well to gentle cleaning.
Avoid steel wool, scouring pads, and abrasive powders. These tools scratch the glaze. Even "soft" abrasives can damage porcelain if you apply pressure. Stick with soft cloths and non-abrasive cleaners.
Step-by-Step Residue Removal
Step 1: Prepare Your Sink Rinse the sink with warm water. Wipe it dry with a soft cloth.
Step 2: Apply a Gentle Cleaner Spray or apply a mild dish soap solution to the mark.
Step 3: Wipe Gently Use a soft cloth or sponge to wipe the mark in circular motions. Don't scrub hard. Light pressure is enough.
Step 4: Use a Stronger Solution (If Needed) Mix equal parts white vinegar and water. Apply this to the mark.
Step 5: Wipe Again Use a soft cloth to wipe the mark away. The vinegar should have softened the residue.
Step 6: Rinse Thoroughly Rinse the sink completely with clean water. Dry it with a soft cloth.
Remove Hard Water Marks From Sink With Safe Methods
Hard water marks are mineral deposits. They're common in areas with high mineral content in tap water. These marks look chalky or white. They're different from sticky residue because they don't come off with soap alone.
Vinegar and Mineral-Mark Treatment
Vinegar dissolves mineral deposits. This is why it works so well on hard water marks. The acidity breaks down the minerals without harming your sink.
Mix equal parts white vinegar and water in a spray bottle. Spray the mark generously. Let it sit for five to ten minutes.
Use a soft cloth to wipe the mark away. If it's stubborn, spray again and wait another five minutes.
For very stubborn marks, soak a cloth in vinegar and place it directly on the mark for 15 minutes. This concentrates the treatment in one spot.
Rinse the sink thoroughly with clean water. Vinegar smell fades quickly, but rinsing removes any residue.
Oxygen-Based Cleaners for Stubborn Stains
Oxygen-based cleaners work differently than vinegar. They use oxidation to break down stains. These cleaners are safe for porcelain and most sink materials.
Mix an oxygen-based cleaner according to package directions. Apply it to the stain. Let it work for the time recommended on the label, usually 10 to 15 minutes. Oxygen cleaners work slower than vinegar but handle tougher stains.
Wipe the area with a soft cloth. Rinse thoroughly with clean water. Oxygen cleaners are gentler than bleach but still need to be rinsed away completely.
These cleaners work well for yellowing or discoloration that vinegar doesn't touch. They're also safer than harsh chemical cleaners for everyday use.
Sink-Safe Cleaning Tools and What to Avoid
The tools you use matter as much as the cleaner itself. Wrong tools can damage your sink finish even if you use the right product.
Soft Sponges and Cloths That Protect Finish
Microfiber cloths are ideal. They trap dirt and residue without scratching. They work wet or dry. Most households can buy microfiber cloths cheaply at any store.
Soft sponges with a non-abrasive side work well too. Look for sponges labeled as safe for delicate surfaces. Avoid sponges with scrubbing pads on the back.
Cotton cloths and terry cloth work when you need something soft. They don't scratch. They absorb water and cleaner well. Old cotton t-shirts cut into cloths work perfectly.
Paper towels are acceptable for drying but not ideal for scrubbing. They can leave lint behind. Use them to dry your sink after cleaning, not to remove marks.
Materials and Tools That Damage Sinks
Steel wool scratches porcelain and stainless steel. Even fine steel wool (0000 grade) causes micro-scratches that collect dirt and discolor over time. Avoid it entirely on sink surfaces.
Scouring powders are abrasive by design. They scratch finishes.
Bleach-based cleaners can discolor some sink materials. They're harsh and unnecessary for most marks. Save bleach for disinfecting, not stain removal.
Wire brushes and scrub brushes with stiff bristles scratch sinks. These tools are meant for outdoor cleaning and deck maintenance, not delicate sink surfaces.
Abrasive pads marketed as "soft" still damage porcelain and other finishes. If you feel grit in your fingers when you touch it, it's too abrasive for your sink.
How to Prevent Suction Cup Marks on a Sink
Prevention is simpler than removal. Small changes to how you use suction cups stop marks from forming in the first place.
Placement and Pressure Strategies
Position suction cups away from high-traffic areas of your sink. The center of the basin is safer than the rim or corners.
Don't leave suction cups in place permanently. Remove them daily if possible. The longer they sit, the more likely they'll leave marks.
Apply suction cups with moderate pressure. You don't need to press hard for them to stick. Excessive pressure increases the chance of marks forming.
Rotate suction cup placement. If you use the same spot every day, move the cup slightly each time.
Check the suction cup material. Some cups are designed to be gentler than others. Silicone cups are softer than plastic. Softer materials are less likely to leave marks.
Maintenance Between Uses
Dry your sink after each use. Water sitting under a suction cup can cause mineral buildup or mold. Moisture also weakens the seal, making the cup more likely to slip and create marks.
Clean the suction cup itself regularly. Dirt and grit on the cup surface can scratch your sink.
Inspect suction cups for damage. Cracks or deformations mean the cup no longer makes even contact with the sink. This uneven pressure can cause marks. Replace damaged cups.
Apply a thin layer of petroleum jelly or silicone spray to the suction cup edge. This creates a smoother contact surface and reduces the chance of marks.
Your Sink Cleaning Routine: Prevention and Maintenance
A simple routine keeps your sink looking new and prevents marks from building up.
Clean your sink daily. Rinse it after use. Wipe it dry.
Weekly, do a deeper clean. Use your chosen gentle cleaner. Wipe the entire sink surface.
Monthly, inspect your sink for damage. Look for scratches or discoloration. Address small problems now before they spread.
Keep your cleaning supplies simple. Dish soap, white vinegar, and soft cloths handle most sink marks. You don't need expensive specialty cleaners.
At SinkElle, we understand that a clean sink is part of a well-organized kitchen space.
Store suction cups properly when not in use. Keep them in a dry place.
Suction cup marks on your sink don't have to be permanent. At SinkElle, we believe a well-maintained sink area is the foundation of a beautifully organized home.
Frequently Asked Questions
How can you tell whether a sink mark is residue or a scratch?
Residue from suction cups often feels sticky or tacky when you run your finger over it, and it may wipe away partially with water or a damp cloth. Scratches, by contrast, are permanent indentations in the sink surface and won't budge with cleaning. If the mark disappears completely when wet but reappears as it dries, it's likely mineral buildup or silicone residue. If it remains visible and feels rough to the touch, it's probably a scratch or etching that won't respond to standard cleaning methods.
Can vinegar damage a porcelain or stone sink?
Vinegar is generally safe for porcelain sinks when diluted (equal parts white vinegar and water) and used briefly. However, stone sinks like marble, granite, or limestone can be damaged by vinegar's acidity, which etches the surface over time. Always test diluted vinegar on a hidden area of your sink first. For stone, skip vinegar entirely and use pH-neutral cleaners instead. Avoid leaving vinegar solution sitting on any sink surface for more than 10-15 minutes.
What's the safest way to remove sticky residue without scratching a sink?
Start with the gentlest method: warm water and a soft cloth or sponge. If that doesn't work, try diluted white vinegar (50/50 with water) applied to a damp cloth and rubbed gently in circular motions. For stubborn silicone residue, a small amount of rubbing alcohol on a soft cloth can help dissolve it without damaging most sink finishes. Always rinse thoroughly with water afterward. Avoid steel wool, scouring pads, and abrasive cleaners, which scratch porcelain and reglazed finishes.
How do you prevent suction cup marks from forming in the first place?
Clean and dry the sink surface before placing any suction-cup item on it; water or residue reduces grip and causes the cup to slip and leave marks. Avoid leaving suction cups in the same spot for extended periods; rotate placement or remove the item daily if possible. Apply light to moderate pressure when positioning suction-cup organizers, and check them regularly to ensure they haven't shifted. If you notice marks beginning to form, remove the item immediately, wipe the area dry, and reposition it elsewhere or at a different angle.
