


Table of Contents
- What You'll Need Before You Start
- Step 1: Clear and Declutter the Sink Area
- Step 2: How to Declutter Under Sink Cabinet Effectively
- Step 3: Choose the Best Kitchen Sink Organizers 2026
- Step 4: Under Sink Storage Ideas That Actually Work
- Step 5: Set Up Zones for Cleaning Supplies and Daily Tools
- Step 6: Maintain Your Organized Sink Area
- Frequently Asked Questions
Last Updated: September 16, 2026
What You'll Need Before You Start
Organizing a kitchen sink in minutes starts with a clear surface, a plan for what stays, and a few tools that work around your plumbing instead of fighting it. Most people skip straight to buying bins. That is the mistake.
You do not need a full afternoon or a contractor. You need about 15 minutes, a trash bag, and a willingness to move things out before you put anything back.
Here is what to gather first:
- A trash bag and a donate box
- A damp cloth and a dry towel
- A small caddy or tray for pulling items out
- A measuring tape for cabinet depth
SinkElle builds minimalist Scandinavian-inspired organizers for exactly this job, and this guide walks through the same sequence our team uses: clear, declutter, choose, install, maintain.
Step 1: Clear and Declutter the Sink Area
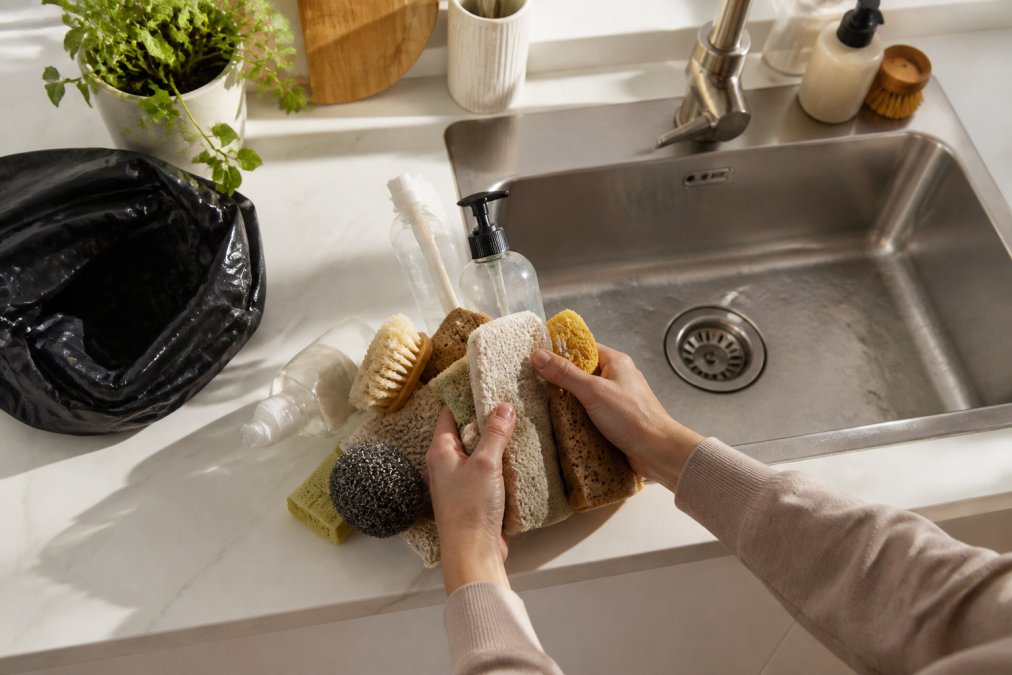
Pull everything off the counter around the sink and set it on a towel. Every sponge, bottle, brush, and stray lid.
Now sort it into three piles: keep, relocate, and toss. Be honest about the toss pile. A sponge that smells, a brush with bent bristles, a bottle with a crusted cap, none of that earns counter space.
The goal is a dish-free, bare sink surround.
Step 2: How to Declutter Under Sink Cabinet Effectively
To declutter under the sink cabinet effectively, empty it completely, group what remains by task, and measure the open space around your pipes before anything goes back in. The cabinet is usually the worst offender in the kitchen and the easiest win, but only if you treat it as a plumbing space, not a cupboard.
Work Around Plumbing and Garbage Disposals
The trap most guides fall into is treating the under-sink cabinet like a normal cupboard. It is not. A garbage disposal hangs down on one side, the P-trap drops in the middle, and supply lines run up the back wall. That shape dictates everything.
Here is the sequence that works:
- Empty the cabinet completely. Pull everything out, including the items you "always keep there." Set them on a towel.
- Photograph the empty cabinet. Take one wide shot and one close-up of the disposal and P-trap. You will use these when shopping.
- Measure three clearances. Measure the height from the cabinet floor to the bottom of the disposal (typically 8-12 inches on a standard 1/2-horsepower unit). Measure the height under the lowest point of the P-trap. Measure the depth from the cabinet back wall to the front edge of the disposal. Write these numbers down.
- Mark the dead zones. The space directly behind the P-trap and the narrow gap beside the disposal are usually unusable for bins. Do not buy containers for those spots.
- Sort by task, not by product type. Group cleaners together, refills together, tools together. Task grouping is what makes the cabinet easy to maintain.
The Disposal-Side Rule
If you have a garbage disposal, the side it hangs on is almost always the harder side to organize. That is where slim, stackable bins earn their keep. Reserve the open side, usually the non-disposal side, for taller items like spray bottles and bulk refills. This one swap typically recovers several inches of usable height.
What to Toss, Relocate, and Keep
Be honest about the toss pile. A sponge that smells, a brush with bent bristles, a bottle with a crusted cap, none of that earns cabinet space. Relocate anything you have not used in six months. Keep only what you reach for weekly, plus one backup of the items you genuinely run out of.
Step 3: Choose the Best Kitchen Sink Organizers 2026
The best kitchen sink organizers in 2026 are the ones that lift items off wet surfaces, drain water back into the sink, and install without drilling. Material matters more than brand here, because anything sitting near a faucet meets water daily.
Sinkelle FlowRack Pro — Keeps Sponges →
| Organizer Type | Best For | Water Resistance | Install |
|---|---|---|---|
| Over-sink rack | Sponges, brushes, soap | High (stainless steel) | No tools |
| Splash mat | Faucet base, countertop | High (silicone) | No tools |
| Quick-dry mat | Dishes, mugs, coffee bar | High (diatomite) | No tools |
| Pull-out drawer bin | Under-sink supplies | Medium | Some assembly |
Step 4: Under Sink Storage Ideas That Actually Work
Under sink storage ideas that actually work share one trait: they follow the plumbing instead of ignoring it. Expandable shelving and modular containers let you build around the disposal and the trap rather than losing that space.
Modular Containers and Expandable Shelving
Start with a two-tier expandable shelf that spans the cabinet and adjusts to clear the disposal. Stack modular containers on top, sized to your cabinet footprint, not the other way around.
- Refills and bulk supplies on the top tier
- Daily cleaners within arm's reach at the front
- Rarely used items in the deep back corner
- Liners and bags in a slim bin against the door
Step 5: Set Up Zones for Cleaning Supplies and Daily Tools
Zones are what keep an organized sink area from sliding back into chaos. Split the space into three: a daily zone, a cleaning zone, and a backup zone. But the difference between a zone system that works and one that collapses is whether it is built around your body or around the cabinet.
The Ergonomic Workflow Angle
Most guides tell you to make zones. Almost none tell you where to put them for your dominant hand. That is the gap this section fills.
Here is the placement logic:
- Dominant-hand side, counter height: soap, sponge, brush. If you are right-handed, this is the right side of the sink. If you are left-handed, mirror it. This is the single highest-impact placement decision in the whole setup.
- Non-dominant side, counter height: dishcloth or towel bar. Your non-dominant hand grabs the cloth while your dominant hand holds the dish.
- Under the sink, front edge: daily cleaners you reach for while standing. No bending.
- Under the sink, back or deep corner: backup refills and rarely used items. You bend for these, so they should be the items you touch least.
The Three Zones, Defined
Daily zone. Lives on the counter or over the sink: soap, sponge, brush, dishcloth. Nothing else. If it does not touch dishes daily, it does not belong here. A draining rack with a built-in hanging bar keeps this zone contained in one footprint.
Left-Handed and Shared-Kitchen Adjustments
If two people of different dominant hands share the sink, split the daily zone. Put soap and sponge on one side and a second set on the other, or use a centered over-sink rack that both people can reach without crossing the other's arc. A centered rack is the compromise that works for most shared kitchens.
Step 6: Maintain Your Organized Sink Area
An organized sink stays organized with a two-minute weekly reset, not a monthly overhaul. The system fails when maintenance is treated as a big project instead of a small habit.
Try this schedule:
- Daily: rinse the sponge tray and wring the dishcloth
- Weekly: wipe the rack and mat, check for standing water
- Monthly: pull the under-sink bins, wipe the cabinet floor, restock refills
- Seasonally: reassess what you actually used and donate the rest
Frequently Asked Questions
How can I effectively organize my kitchen sink in minutes?
Start by clearing everything off the counter and out of the cabinet. Sort items into keep, relocate, and toss piles. Wipe down surfaces, then place a sink caddy or over-the-sink rack to hold sponges and soap. Use a splash mat to keep the counter dry. Add modular containers under the sink for cleaning supplies and a pull-out organizer for easy access. The whole process takes 15-20 minutes if you work in order.
What are the best kitchen sink organizers for 2026?
Look for organizers that address both counter and cabinet space. A stainless steel over-the-sink rack, like the Sinkelle FlowRack Pro, keeps sponges and brushes elevated so they dry faster. A waterproof silicone splash mat, such as the DryFlow Splash Mat, channels water back into the sink. For under the cabinet, choose expandable shelving and modular containers that fit around plumbing. Prioritize rust-resistant materials and tool-free installation.
What common mistakes should I avoid when organizing under sink storage?
Avoid stacking items directly on top of pipes or a garbage disposal. Don't use cardboard boxes or non-waterproof containers, which can warp and grow mold. Skip organizers that require drilling if you rent. Don't overcrowd the cabinet; leave space for plumbing clearance and access. Finally, avoid buying bins before measuring your cabinet depth and height, or you'll end up with storage that doesn't fit.
How do I keep my kitchen sink area clutter-free daily?
Adopt a two-minute reset each evening. Put sponges on a drying rack, wipe the counter with a splash mat or cloth, and return cleaning supplies to their designated zone. Use a sink caddy to corral dish soap and hand soap. Once a week, check under the cabinet for items that have migrated. A maintenance schedule prevents buildup and keeps your sink area functional and hygienic.