


Table of Contents
- Why a Daily Kitchen Sink Sanitizing Routine Matters
- What You'll Need Before You Start
- How to Sanitize a Kitchen Sink: Morning and Evening Steps
- How to Disinfect a Kitchen Sink After Raw Meat or High-Risk Foods
- Best Kitchen Sink Cleaner Products and Methods
- Kitchen Sink Cleaning Checklist for Daily and Weekly Tasks
- Common Mistakes to Avoid When Sanitizing Your Sink
- Keeping Your Sink Organized Between Cleanings
- Frequently Asked Questions
Last Updated: October 21, 2026
Why a Daily Kitchen Sink Sanitizing Routine Matters
A daily kitchen sink sanitizing routine is the foundation of a hygienic kitchen. Your sink handles raw meat, dirty dishes, and food scraps all day, and without proper sanitizing, harmful bacteria spread to your hands, cutting boards, and other surfaces.
Studies show kitchen sinks harbor more germs than toilet seats, and the warm, moist environment lets pathogens thrive. A consistent routine breaks this cycle.
At SinkElle, we know kitchen organization and cleanliness go hand in hand: an organized sink area makes sanitizing faster and more effective.
What You'll Need Before You Start
Gather these essentials before you begin your daily kitchen sink sanitizing routine:
- Hot water, the primary sanitizing tool for most daily cleaning
- Dish soap, removes grease and organic matter
- Sponge or cleaning cloth, for scrubbing surfaces
The Sinkelle HookNest Kitchen Sponge Holder keeps sponges and cloths organized and within reach, eliminating clutter that slows your routine.

The Sinkelle FlowRack Pro Caddy ($39.99) holds cleaning essentials while draining water back into the sink, so your sponge dries between uses instead of becoming a bacteria breeding ground.

How to Sanitize a Kitchen Sink: Morning and Evening Steps
Most sink advice stops at "rinse and wipe", that is cleaning, not sanitizing. Cleaning removes visible soil; sanitizing reduces bacteria on an already-cleaned surface; disinfecting destroys a broader range of pathogens but needs a stronger product and longer wet contact time.
Sanitizers and disinfectants only work as labeled. Every EPA-registered product carries a contact time ("keep surface wet for X minutes") (the EPA).
Morning: Quick Clean and Reset (about 2 minutes)
The morning pass is about removing overnight residue and starting the day with a clean surface, not about a full sanitizing step.
- Clear the basin. Remove dishes, sponges, and stored items so you can reach every surface.
- Rinse with hot water. Run hot water for 20-30 seconds across the bottom, sides, and back wall to loosen residue.
- Wipe with soapy water. Apply dish soap to a clean cloth and wipe the basin, drain opening, and faucet base.
- Wipe the high-touch points. Faucet handle, spout, and where the faucet meets the sink collect the most hand contact, wipe them every morning.
- Rinse and dry. Rinse away soap film and dry the basin and faucet so water does not sit.
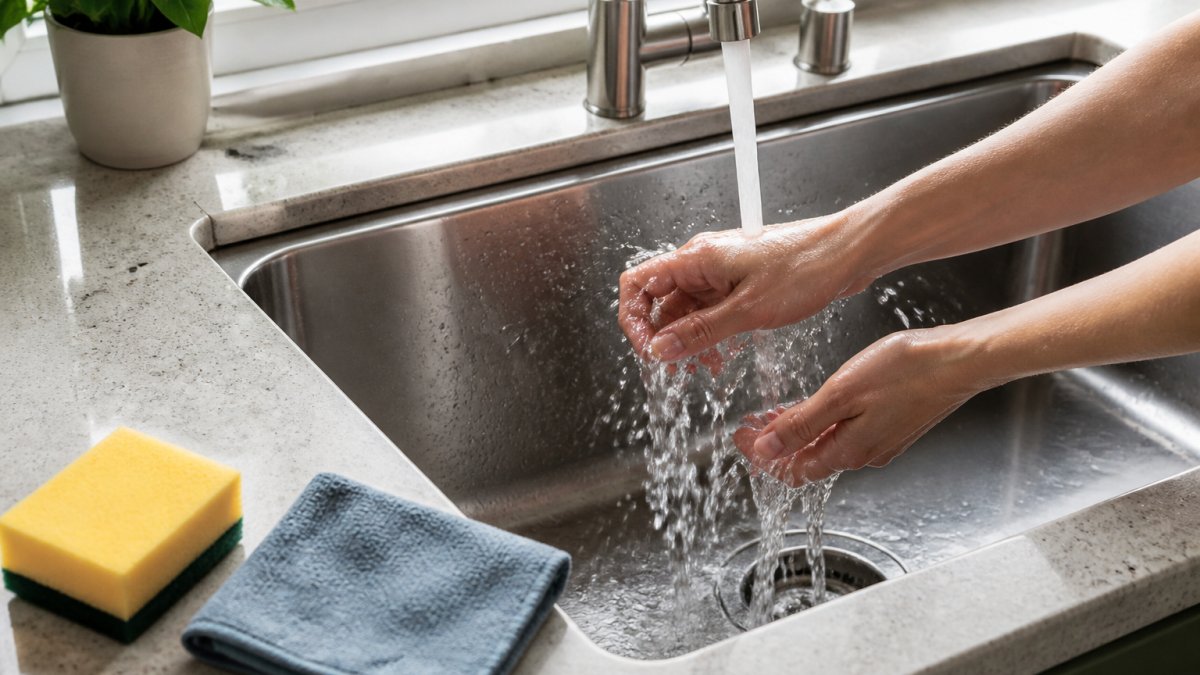
Evening: Clean, Then Sanitize (about 5-7 minutes)
The evening routine is where the actual sanitizing step belongs.
- Clear and rinse. Remove all items and rinse loose debris into the strainer, then empty it into the trash rather than washing debris down the drain.
- Wash the basin with soap and hot water. Scrub the bottom, sides, corners, drain opening, and underside of the faucet, working from the cleanest area to the dirtiest.
- Scrub the strainer and splash guard. These trap food and moisture, scrub with soapy water, then rinse.
- Rinse thoroughly. Remove all soap residue; sanitizers do not work well over soap film or grease.
- Apply sanitizer according to the label. Use an EPA-registered kitchen sanitizer or a bleach solution made fresh that day (commonly about 1 tablespoon of unscented bleach per gallon of water, but follow your bottle's label). Keep surfaces visibly wet for the full contact time.
- Let it air-dry or wipe per label. Follow the product label rather than habit.
- Dry the surrounding area. Wipe the counter edge and faucet base so water does not pool around the fixture.
How to Disinfect a Kitchen Sink After Raw Meat or High-Risk Foods
Handling raw meat requires immediate, aggressive sanitizing to keep pathogens like salmonella and E. coli from spreading.
When to use this protocol:
- After handling raw chicken, beef, pork, or seafood
- After preparing foods for immunocompromised family members
- After cleaning cutting boards or utensils used with raw meat
The disinfection process:
- Clear the sink immediately. Remove all items and rinse away visible debris.
- Prepare a bleach solution. Mix 1 tablespoon of unscented bleach with 1 gallon of hot water.
- Apply the solution. Pour it across all sink surfaces and let it sit for 1-2 minutes, bleach needs time to kill pathogens.
- Scrub thoroughly. Use a clean cloth or sponge on the basin, faucet, handles, and drain area.
- Rinse completely. Rinse with hot water multiple times; leftover bleach can damage cookware and irritate skin.
- Dry with a clean cloth. Use a paper towel or dedicated kitchen cloth to dry everything.
Best Kitchen Sink Cleaner Products and Methods
There is no single best product for every sink. The right choice depends on what you are removing, your sink material, and the label's contact time and safe surfaces. The table below is a decision guide, not a shopping list.
| Goal | Best approach | What to watch for |
|---|---|---|
| Daily grease and food residue | Dish soap and hot water | Rinse soap film fully before any sanitizer |
| Routine sanitizing | EPA-registered kitchen sanitizer or fresh bleach solution per label | Keep surface wet for the full label contact time |
| Stains and dullness | Baking soda paste (baking soda plus water) | Gentle abrasive; test on an inconspicuous spot first |
| Odors from drain | Baking soda followed by hot water; clean the strainer and disposal splash guard | Odor usually comes from trapped food, not the basin surface |
| After raw meat, poultry, or seafood | Clean with soap and water, then disinfect per label | Disinfect only after cleaning; soil reduces efficacy |
Cleaning versus sanitizing versus disinfecting
Cleaning removes soil; sanitizing reduces bacteria to a level public-health standards consider safe; disinfecting destroys a broader range of pathogens and needs a longer contact time. For a daily routine, cleaning plus a label-compliant sanitizing step is usually enough, reserve disinfecting for raw meat, household illness, or other high-risk events.
Match the product to the sink material
- Stainless steel: Dish soap, hot water, and baking soda paste are usually safe. Avoid chlorine bleach and abrasive pads that can dull or pit the finish, and dry after use to reduce water spots. If you must disinfect, use a product labeled safe for stainless.
- Porcelain and enamel: These can chip and scratch. Use soft cloths and non-abrasive cleaners; avoid harsh acids and metal scrubbers.
- Composite and solid-surface sinks: Follow the manufacturer's care guide. Many tolerate mild soap and a soft scrub, but some finishes are sensitive to strong acids, bleach, or abrasive powders.
When in doubt, test any new product on a small, hidden area and check the sink manufacturer's care instructions before using it across the whole basin.
Contact time and label directions
This is the step most routines skip. A sanitizer or disinfectant only performs as tested when the surface stays wet for the label's stated contact time, 30 seconds, one minute, or several minutes. Read the label, set a timer, and do not wipe dry early unless the label says to. Check whether a rinse is required, especially on food-contact surfaces.
Food-safety triggers for a stronger step
Clean and sanitize the sink immediately after it has held raw meat, poultry, seafood, or their juices, and after washing utensils or cutting boards used with those foods. Do not rinse raw poultry in the sink, splashing spreads bacteria. Replace or sanitize any sponge or cloth used in a raw-meat cleanup.
Drain, disposal, and nearby touchpoints
The basin is only part of the job. The strainer basket, disposal splash guard, drain opening, and faucet aerator all trap food and moisture. Clean the strainer daily, scrub the splash guard weekly, and check the aerator if flow slows. Wipe the faucet handle and counter edge, high-touch points that transfer germs back to hands and food.
Sinkelle HookNest Kitchen Sponge Holder →
Kitchen Sink Cleaning Checklist for Daily and Weekly Tasks
Use this checklist to stay consistent with your kitchen sink sanitizing routine.
| Task | Frequency | Time Required | Priority |
|---|---|---|---|
| Morning rinse and wipe | Daily | 2 minutes | High |
| Evening scrub and sanitize | Daily | 5 minutes | High |
| Post-raw-meat disinfection | As needed | 5-10 minutes | Critical |
| Drain and disposal cleaning | Weekly | 10 minutes | Medium |
| Faucet and handle deep clean | Weekly | 5 minutes | Medium |
| Sink basin scrubbing with baking soda | Weekly | 10 minutes | Medium |
| Strainer basket cleaning | Daily | 2 minutes | High |
Post this checklist on your kitchen wall or set phone reminders for weekly tasks.
Common Mistakes to Avoid When Sanitizing Your Sink
Mistake 1: Leaving standing water. Standing water breeds bacteria and mold, dry your sink completely after sanitizing.
Mistake 4: Not rinsing thoroughly after soap or bleach. Residue can damage cookware, irritate skin, and reduce cleaning effectiveness.
Mistake 6: Using the wrong product for your sink material. Bleach can pit stainless steel; abrasive scrubbers can scratch porcelain.
Mistake 7: Rushing the disinfection process. After raw meat, take the full 5-10 minutes to sanitize properly.
Keeping Your Sink Organized Between Cleanings
Organization directly supports sanitizing: a clutter-free sink area gives bacteria fewer places to hide.
Organize your cleaning supplies. Keep sponges, cloths, and brushes in a designated holder. The Sinkelle HookNest Kitchen Sponge Holder keeps everything within arm's reach and your counter clear.
Manage water and moisture. Wet areas breed bacteria and mold. The Sinkelle AquaShield Faucet Guard ($17.99) channels splashes back into the sink instead of across your countertop.

Create a drying system. Give wet cloths a spot to dry between uses, bunched-up wet cloths become smelly bacteria colonies.
Use minimalist design principles. SinkElle's Scandinavian-inspired approach emphasizes function over decoration. Keep only what you use regularly.
An organized sink area makes sanitizing more consistent, the routine becomes automatic instead of a chore.
A clean, sanitized kitchen sink protects your family's health every day.
SinkElle's organization solutions make this routine faster and easier. The Sinkelle FlowRack Pro Caddy keeps cleaning essentials organized while preventing water damage, and the Sinkelle DryFlow Splash Mat stops splashes before they create moisture problems.
Frequently Asked Questions
How often should you sanitize a kitchen sink?
Sanitize your kitchen sink daily, at minimum in the evening after washing dishes. If you handle raw meat, poultry, or seafood, sanitize immediately after use to prevent cross-contamination. A quick morning rinse keeps the sink fresh for the day ahead. Daily sanitizing prevents bacteria buildup, odors, and food-safety risks that accumulate even in a sink that looks clean.
What is the best way to sanitize a kitchen sink?
The most effective method combines hot water, dish soap, and a scrub. After removing debris, rinse the basin and faucet with hot water, apply dish soap with a sponge, scrub all surfaces including the drain strainer, and rinse thoroughly. For deeper sanitizing, use a diluted bleach solution (1 tablespoon per gallon of water) or a commercial disinfectant, letting it sit for the contact time listed on the product label, typically 5-10 minutes, before rinsing. Hot water and contact time are critical for killing bacteria.
How long should disinfectant sit on a kitchen sink before rinsing?
Always follow the contact time printed on the product label, this is the minimum time the disinfectant must remain wet on the surface to kill bacteria effectively. Most household disinfectants require 5-10 minutes. If you rinse too early, you reduce the sanitizing power. After the contact time expires, rinse thoroughly with hot water and wipe dry with a clean cloth. Proper contact time is essential for food safety, especially after handling raw meat.
How do you keep a kitchen sink clean between deep cleans?
A quick daily rinse and wipe keep your sink fresh between deep cleanings. After each meal, remove food scraps and debris, rinse the basin and faucet with hot water, and wipe dry with a clean cloth. Store your sponge, scrubbers, and cleaning cloths in an organized caddy like the Sinkelle FlowRack Pro Caddy ($39.99) so they dry properly and don't harbor odors. Keep the faucet and handles wiped to prevent water spots and buildup. These small habits prevent grime and bacteria from accumulating.